While that has now indeed happened, there is still no taking away any limelight from the fact that they were and are still among the most popular devices in custom development. It has even recently been blessed with the latest One UI 4.1 Android 12 update, courtesy of a custom ROM. And that’s not it. There exists a slew of customized firmware, modules, and tweaks that you could flash onto your device. But to carry out his flashing process, you will have to install the TWRP Recovery on your Galaxy Note 9. And in this guide, we will show you how to do just that. Follow along.
How to Install TWRP Recovery on Samsung Galaxy Note 9
The below instructions are listed under separate sections for ease of understanding. Make sure to follow the same sequence as mentioned. Droidwin and its members wouldn’t be held responsible in case of a thermonuclear war, your alarm doesn’t wake you up, or if anything happens to your device and data by performing the below steps.
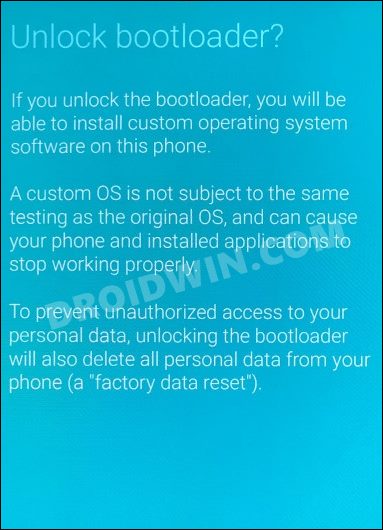
STEP 1: Unlock Bootloader on Galaxy Note 9
First and foremost, you will have to unlock the bootloader on your device. Do note that doing so will wipe off all the data from your device and could nullify its warranty as well. So if that’s well and good, then refer to our guide on How to Unlock Bootloader on Samsung Galaxy Note 9
STEP 2: Download TWRP for Galaxy Note 9
Next up, download the official TWRP TAR and IMG file for your device from below. The TAR file will be flashed via Odin whereas the IMG will be flashed via TWRP itself. All this has been explained in the subsequent sections.
TWRP for Galaxy Note 9 (Exynos): Download TAR FileTWRP for Galaxy Note 9 (Exynos): Download IMG File
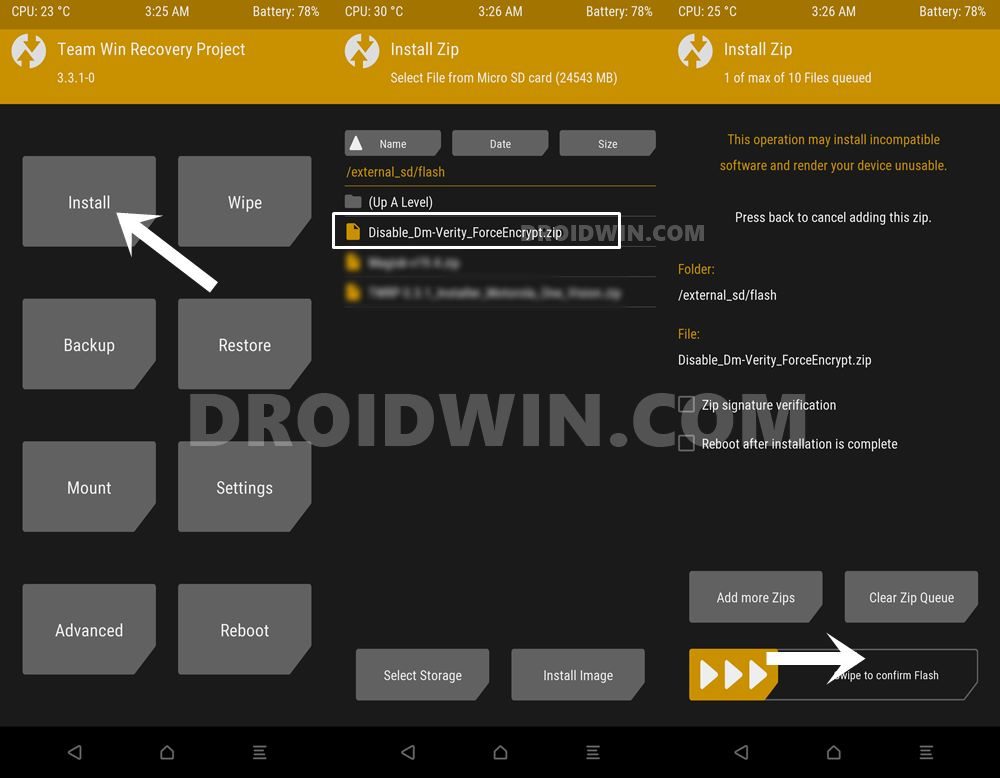
After that, also download the No Verity ZIP file. This will be used to disable data partition encryption. Once downloaded, transfer this No Verity ZIP as well as TWRP IMG file to your device, whereas leave the TWRP TAR file on your PC itself.
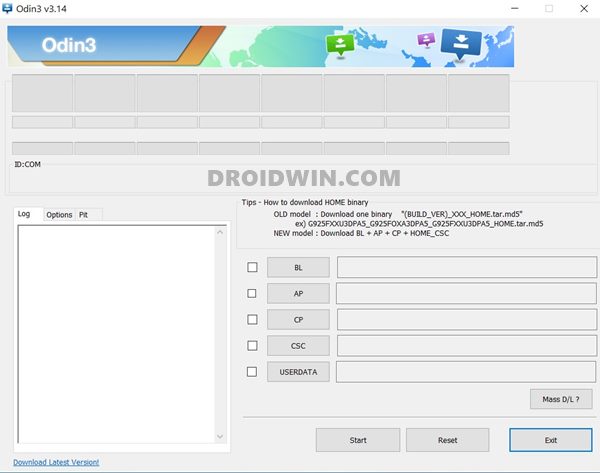
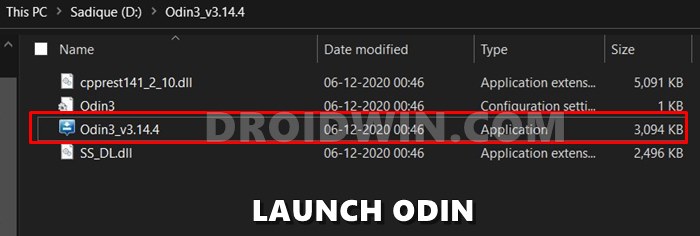
STEP 3: Download Odin
After that, you will have to get hold of Odin so as to flash the TWRP TAR file to your Galaxy Note 9 device. So download it and then extract it to any convenient location on your PC.
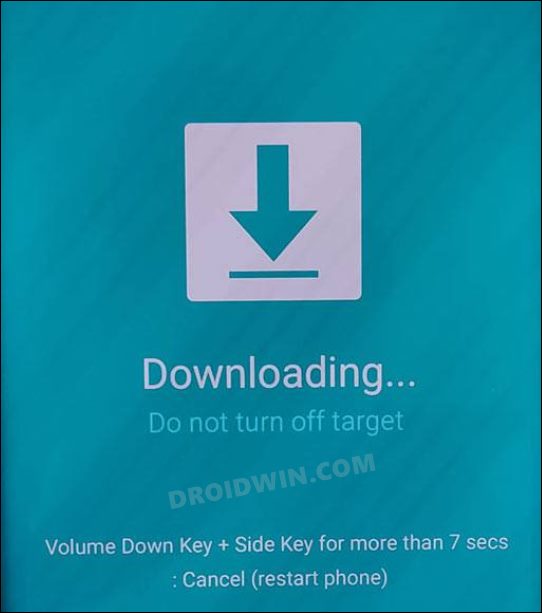
STEP 4: Boot Galaxy Note 9 Download Mode
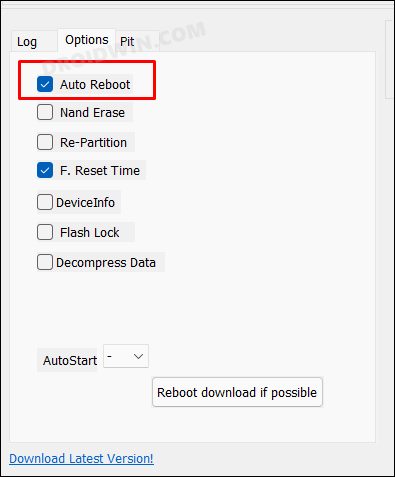
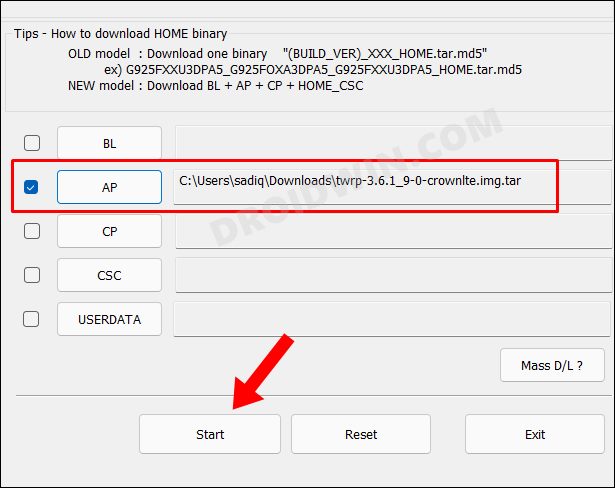
STEP 5: Flash TWRP on Galaxy Note 9
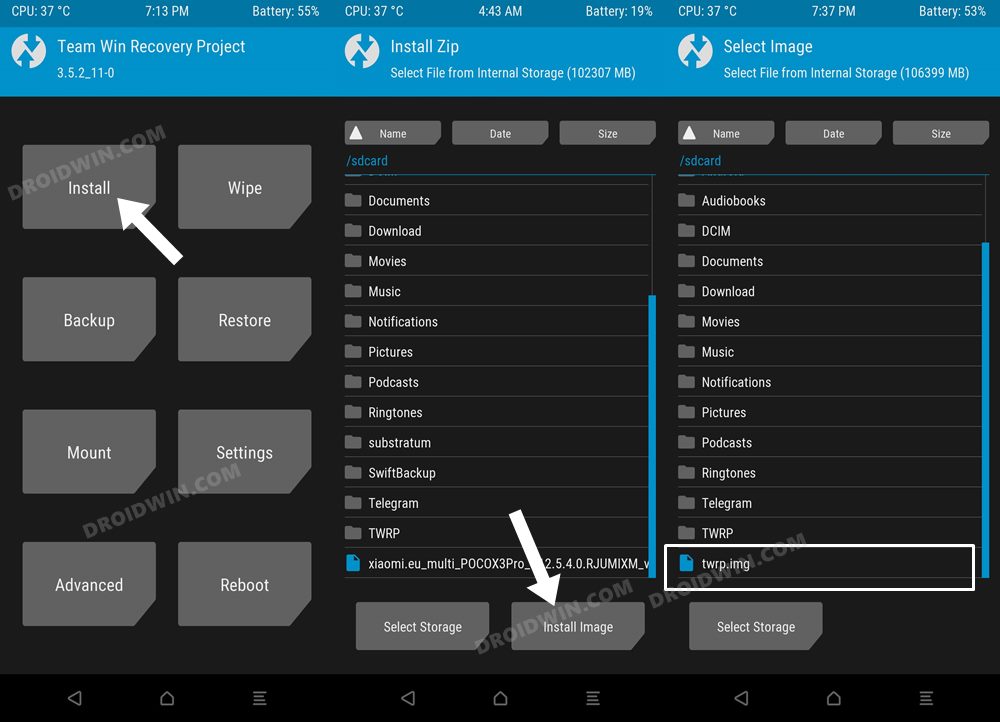
STEP 6: Initialize TWRP on Galaxy Note 9
These were the steps to install the TWRP Recovery onto your Galaxy Note 9 device. If you have any queries concerning the aforementioned steps, do let us know in the comments. We will get back to you with a solution at the earliest.
Unbrick Samsung | Flash Stock Firmware via OdinDowngrade Samsung One UI 4.0 to One UI 3.1 (Android 12 to 11) via OdinHow to Nand Erase and Re-Partition Samsung via OdinHow to Create Samsung Combination Firmware and Flash it via Odin
About Chief Editor