Be it for flashing custom ROM or installing a custom recovery, there’s a lot to try out. Along the same lines, you could welcome a plethora of tweaks onto your device. But for most of these mods, you would need to have a custom recovery installed. And in this guide, we will help you with just that. Given here are the detailed instructions to install TWRP Recovery on Samsung Galaxy Note 10/10+/5G Exynos.
Benefits and Risks of Installing TWRP
Once you flash a custom recovery like TWRP, you will be in a position to flash ZIP and IMG files. So this automatically check-mark all the custom ROMs, Mods, and even the Magisk ZIP for obtaining root. And once you obtained root, you will be able to flash Magisk Modules, Xposed Framework, and Substratum Themes. Along the same lines, you could also take a backup of all the partitions on your device using its Nandroid Backup feature. However, this is just half the story.
The TWRP flashing process requires an unlocked bootloader. Doing so will wipe off all the data and could nullify the warranty as well. Likewise, Knox will also be tripped which will result in the inability to use banking apps [though you could pass SafetyNet]. Likewise, Netflix WideVine L1 will be degraded to L3, hence Full HD resolution might not be supported. If all this is well and good, then let’s get started with the steps to install TWRP Recovery on Samsung Galaxy Note 10/10+/5G Exynos.
How to Install TWRP Recovery on Samsung Galaxy Note 10/10+/5G
The below instructions are listed under separate sections for ease of understanding. Make sure to follow in the exact same sequence as mentioned. Droidwin and its members wouldn’t be held responsible in case of a thermonuclear war, your alarm doesn’t wake you up, or if anything happens to your device and data by performing the below steps.
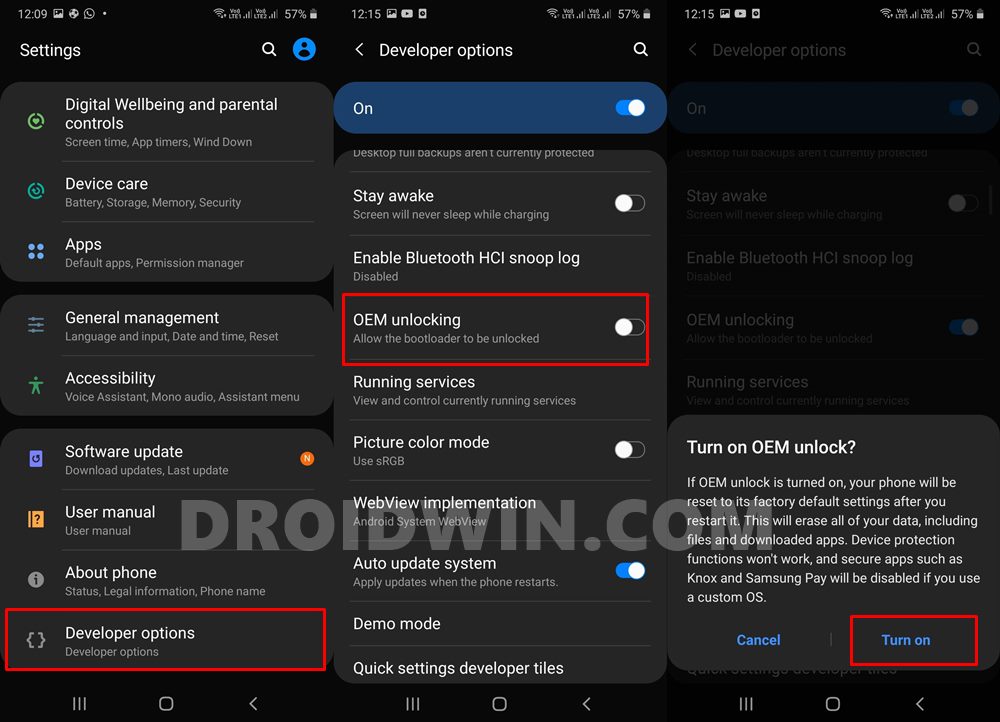
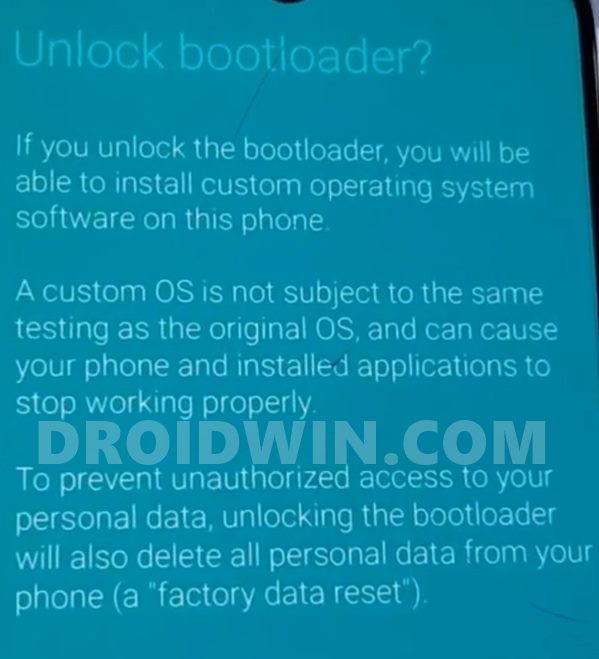
STEP 1: Unlock the Bootloader
First and foremost, you will have to unlock the device’s bootloader. For that, you may refer to our comprehensive guide on How to Unlock the Bootloader on any Samsung Device [New VaultKeeper Method]. Or here are the shorter instructions:
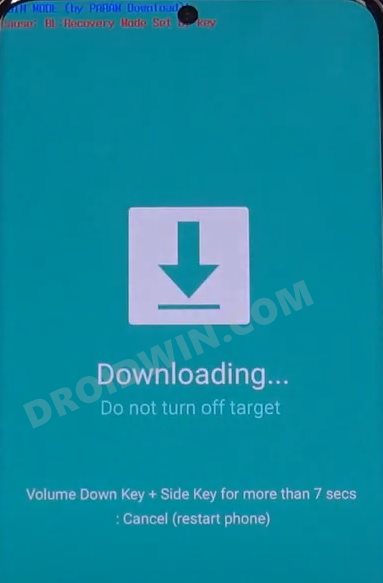
STEP 2: Boot to Download Mode
Next up, you will have to boot your device to Download Mode. To do so, you could refer to our detailed guide on How to Boot any Samsung Device to Download Mode. Or here’s the shorter instructions:
If you are still seeing that RMM state=Prenormal or KG state=Prenormal, then power on your device and make sure that you are connected to the internet. Likewise, OEM unlock should be enabled under Developer Options. Once both the things have been verified, reboot your device to the Download Mode and this time the issue would be rectified.
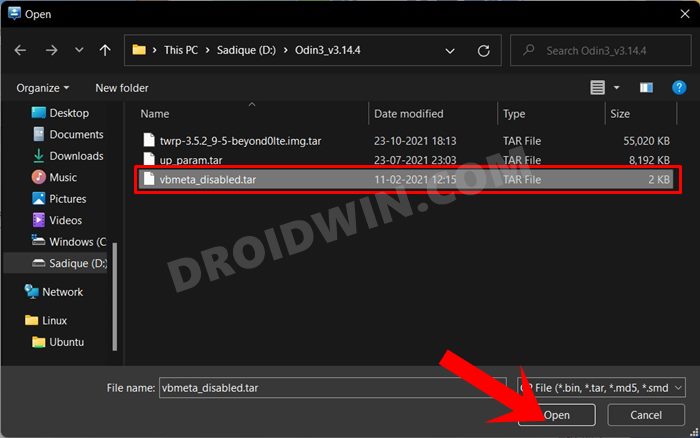
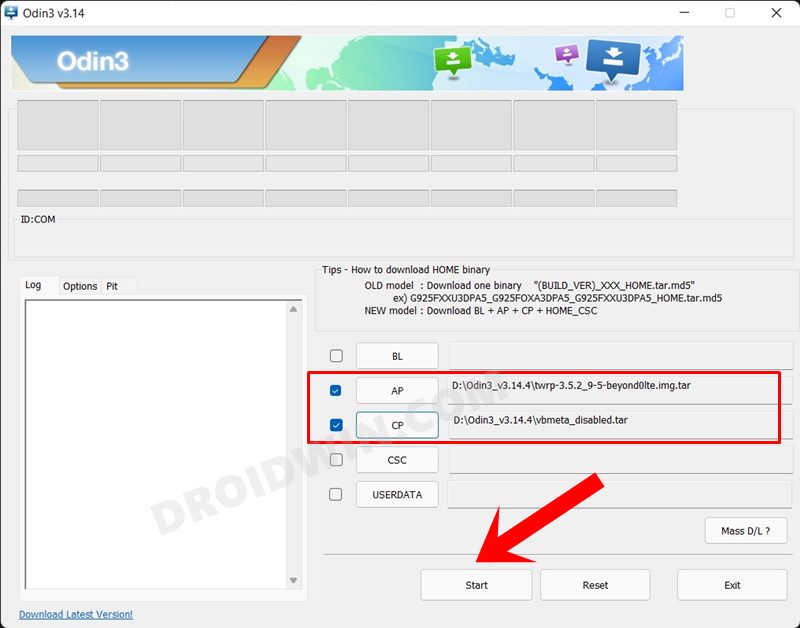
STEP 3: Download TWRP for Samsung Galaxy Note 10/10+/5G
About Chief Editor