For example, you could replace the device’s stock recovery with a custom one such as TWRP. Likewise, you could also install customized Android OS ROMs (aka Custom ROMs). Along the same lines, there is also a possibility of gaining access to the system partition and attaining administrative level privileges. This could be done by rooting your device via Magisk, with or without TWRP. Once rooted, you could then flash Magisk Module, Substratum Themes, Xposed Framework, etc. However, this is just one side of the story. On the flip side, these tweaks might bring in a few risks as well. If you don’t perform these tweaks correctly, then your device might go into a boot loop, soft brick, or even hard brick. Fortunately, most of these issues could easily be rectified via the device’s specific tool (MSM DownloadTool, Mi Flash Tool, etc). Then there is another pretty common issue- no WiFi, Calls, or Network after root or flashing Custom ROM, and this guide shall help you fix that as well. So without further ado, let’s get started.
The Reason for Missing Network and WiFi after Root or Installing Custom ROM
Simply unlocking the device’s bootloader doesn’t usually lead to the loss of network signals. However, the task that you perform after that is a cause of concern. In this regard, flashing an incorrect or older build of a custom ROM is a pretty common culprit. Likewise, nowadays many users have reported this issue after rooting their device. But how? Well, the thing is there are two different methods to root your device. The first one is rather simple- just flash the Magisk Installer ZIP via TWRP. However, it is the second method of patching the stock boot.img via Magisk and then flashing it via Fastboot that seems to be giving this issue. What really happens is users tend to extract the stock boot.img from the firmware whose software version is different from the one that is currently installed on their device. As a result, when they patch and then flash this boot.img, it leads to a conflicting scenario and leads to a few issues. Apart from the root and installing a custom ROM, there could be quite a few other reasons as well. Fortunately, no matter what the reason is, the fix is one and the same. On that note, let’s check out the steps to fix the no WiFi, Calls, or Network issues after root or flashing custom ROM.
Fix adb server version doesn’t match this client; killing.How to fix ADB Device not found [List of Devices Attached is blank]Detailed Steps to Fix adb is not recognized ErrorHow to Fix Unauthorized Device with ADB Commands [3 methods]
How to Fix No WiFi, Calls, Network after Root or Custom ROM
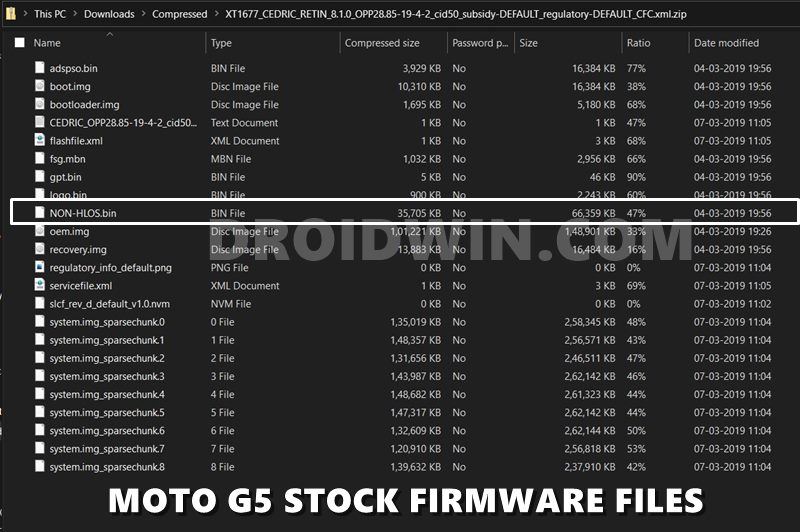
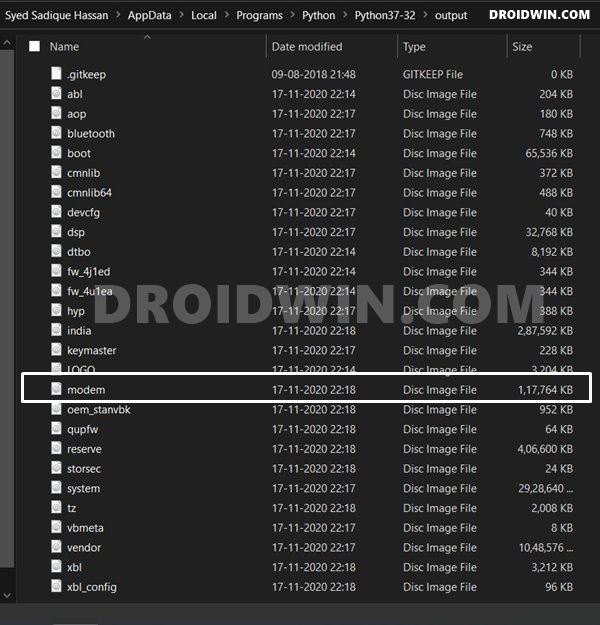
The issue is with the partition of your device that handles all kinds of this stuff, aka the tasks related to Network, Radio, WiFi, Calls among others. This partition is named Modem and is the same across all Android devices. What isn’t the same is the name of their modem file, while some like to call it modem.bin itself others have it named as NON-HLOS.bin (where BIN is the file format). I got my hands on a couple of devices and here the names of their modem files:
Mi A3 [Android One]- NON-HLOS.binOnePlus 6: modem.binRedmi Note 8 [MIUI]: NON-HLOS.binMotorola One Vision: modem.bin
As already mentioned before, the name of this file doesn’t matter, what really matters is that your device should have the modem partition. So keeping this in mind, let’s get on with the guide to fix the no WiFi, Calls, or Network issues after root or flashing custom ROM.
STEP 1: Download Stock Firmware for your device
First and foremost, you need to download the stock firmware for your Android device. Most of the OEMs upload the firmware for their devices on their official websites themselves, except for Samsung which requires tools like Frija. So head over to their site and grab the firmware file corresponding to your device and region. With that said, make sure that you are downloading the firmware that has the same version number as that your device is currently having. You could check the same from your device’s About Phone section.
How to Pass Magisk SafetyNet on Rooted Android 11Root Android 11 via Magisk Patched boot.img (without TWRP)Fix Magisk patched boot.img issue while Rooting Android 11How to Take Screenshots in Restricted Apps on Android
STEP 2: Extract the Stock Firmware
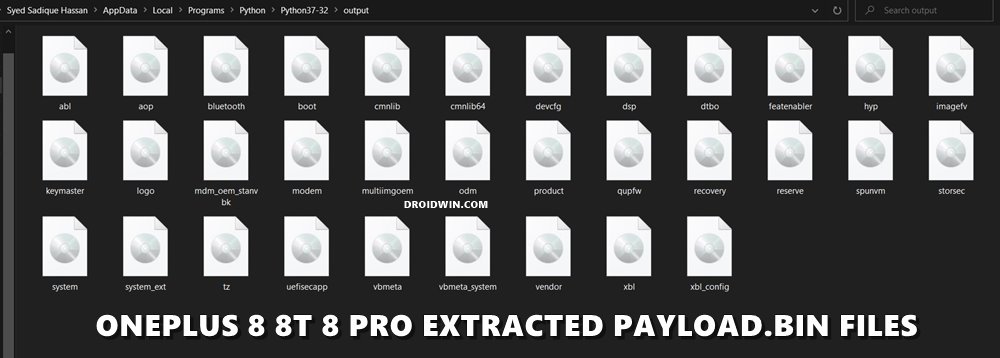
Once you have downloaded the firmware, extract it to a convenient location on your PC. If your firmware is in a ZIP format, then you could easily extract it via WinZIP/WinRAR, etc. However not every OEMs follow this tradition. For example, OnePlus have their partition files packed inside the payload.bin file whereas Oppo and Realme have it inside the OZIP. So if your device belongs to any one of these companies, then refer to the below guides.
How to Extract OZIP Realme and Oppo Stock ROM (Firmware)How to Extract payload.bin and get the stock boot image file
STEP 3: Get the Stock Modem File
The next step in this guide to fix the no WiFi, Calls, or Network issues after root or flashing custom ROM requires you to get the stock modem file. Since you have extracted the stock firmware, look for the modem.bin or the NON-HLOS.bin file. Now copy this file and keep it ready.
STEP 4: Install Android SDK
It’s time to install the Android SDK Platform Tools on your PC. This is the official tool provided by Google that has the required ADB and Fastboot binaries. So download this tool and extract it. You should then get the platform-tools folder, paste the modem file inside this folder. Once that is done, move to the next step to fix the no WiFi, Calls, or Network issues after root or flashing custom ROM.
STEP 5: Boot to Fastboot Mode
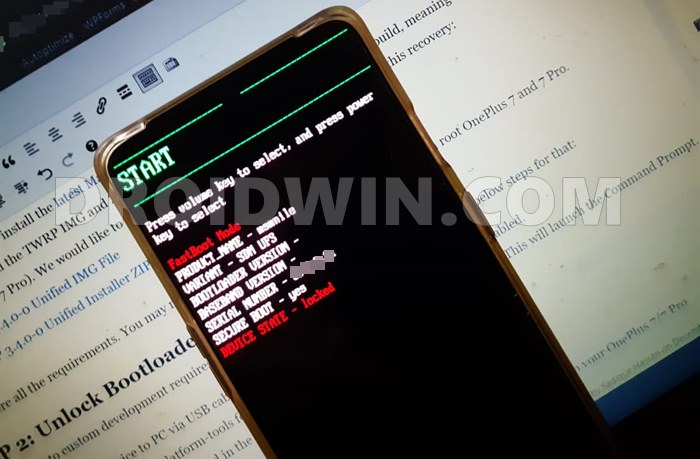
You will now have to boot your device to Fastboot Mode. This is because we now have to flash the modem file inside the modem partition, and flashing is only possible when your device is booted to Fastboot Mode. With that said, you may either use the device-specific hardware key combinations to boot to Fastboot or follow the below universal method:
STEP 6: Check if the Device is A/B or A Partition
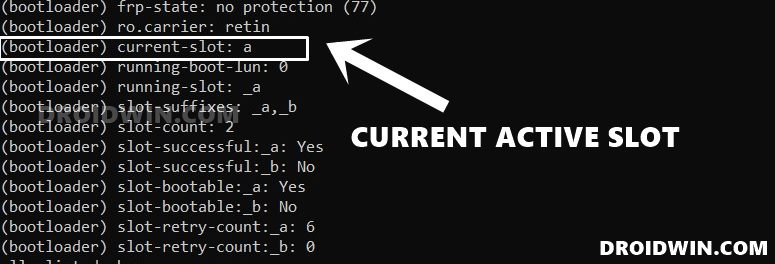
Your next and extremely important task is to check whether your device is A/B dual partition or an A-only single partition. For that, please refer to our guide on How to Check and Change Current Active Slot on Android [Direct Link to the Instructions: Does My Device Have A/B Partitions?]. Once you have verified the same, move over to the final set of instructions to fix the no WiFi, Calls, or Network issues after root or flashing custom ROM.
How to use Core Only Mode in the new Magisk Manager?How to Fix ctsProfile Mismatch Error on Rooted AndroidPass SafetyNet test after installing Xposed or EdXposedHow to Unbrick any MediaTek Phone using SP Flash Tool
STEP 7: Fix Network WiFi Calls Issue by Flashing Modem File
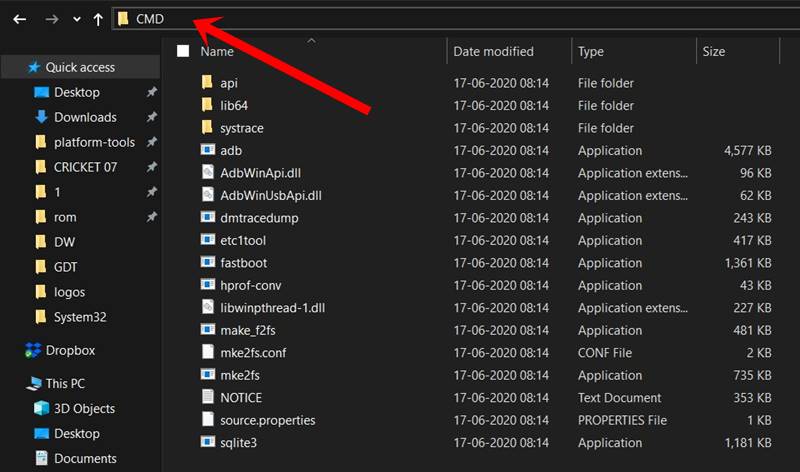
Let’s start off with the steps to fix the network and call issue by flashing the stock modem file. Make sure that you have transferred the modem file (modem.bin or the NON-HLOS.bin file) to the platform-tools folder. Furthermore, you should also have the CMD window opened inside the platform-tools folder and the device should be connected to the PC in Fastboot Mode. If that’s all well and good, and you have checked the partition style of your device, proceed with the below instructions:
For A/B Device
For A-only Device
On that note, we conclude the guide on how to fix the no WiFi, Calls, or Network issues after root or flashing custom ROM. If you have any queries concerning the aforementioned steps, let us know in the comments section. We will get back to you with a solution at the earliest.
How to Create and Port TWRP Recovery to any Android DeviceHow to Update TWRP Recovery on any Android DeviceDetailed Steps to Update Magisk ZIP and Magisk Manager (without TWRP)Disable DM-Verity or Android Verified Boot without TWRP
About Chief Editor
