Rather than being an additional burden on the system, this is perhaps one of the very few bloatware that is welcomed with open hands by the end-users. When you are getting all the Chromium goodies without hogging the CPU resources, then the reason for this rise is there for all to see. Likewise, the browser also gets blessed with updates at regular intervals. In most instances, then these update tends to iron out underlying bugs, improve performance and enhance the overall security. However, the chances of bugs creeping in along with an update cannot be negated either. And when that happens, the basic workarounds of deleting data and cache, disabling extensions, or re-installing the browser usually spell out success. But when that doesn’t then your only course of action should be to downgrade Microsoft Edge to the earlier stable build on your Windows 11 PC. And in this guide, we will show you how to do just that. Follow along.
How to Downgrade Microsoft Edge in Windows 11
On paper, this is just a two-step process- download an older build of the browser, uninstall the currently installed version and then install the old version. But things become a tad complicated during its uninstallation process as you cannot remove it via the Settings menu or Control Panel. With that said, there do exist three nifty CMD/PowerShell methods through which you could do this job. So without any further ado, let’s check them out.
STEP 1: Download Old Edge Browser
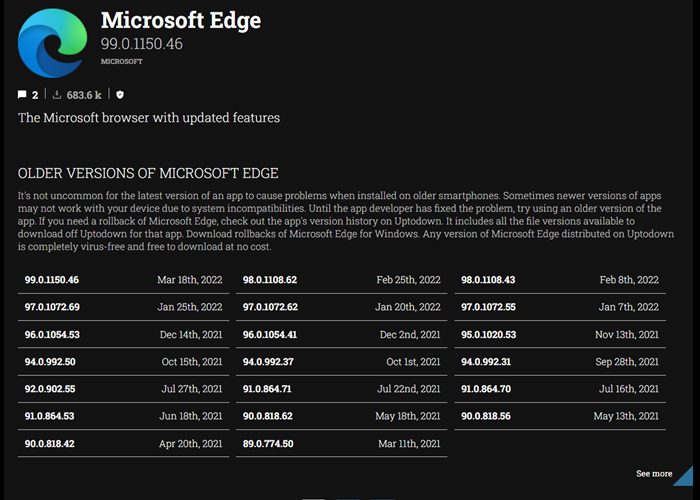
Before removing the browser from your PC, let’s first get hold of its older build. In this regard, Mircosoft doesn’t host the older builds of its browser, so you will have to take the help of a third-party website. So download it from a site of your choice and keep it handy.
STEP 2: Uninstall Microsoft Edge in Windows 11
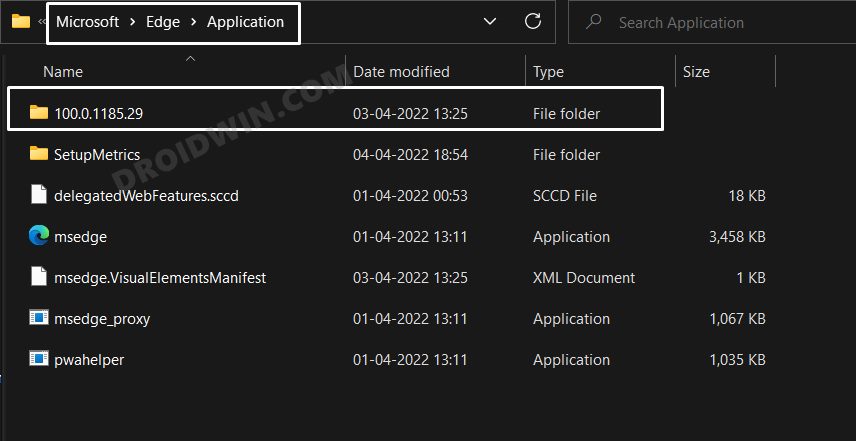
Given hereby are three different methods that shall help you uninstall Microsoft Edge from your Windows 11 PC. Try out the one that is in sync with your requirement. Before starting, make sure to note down the current browser version number from the edge://settings/help page.
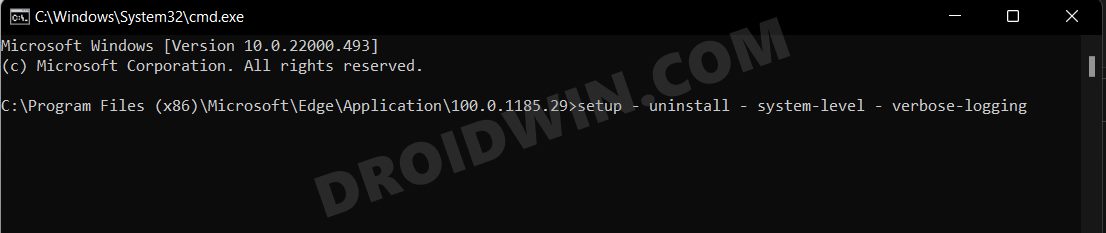
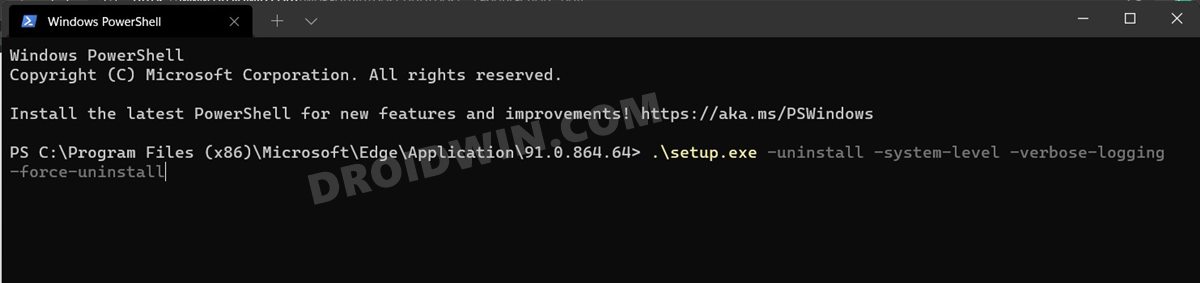
Via Command Prompt
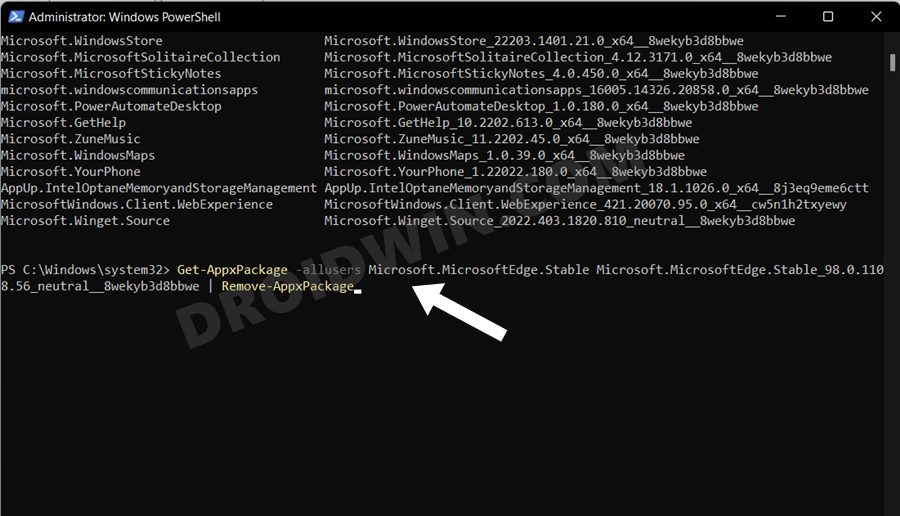
Via PowerShell
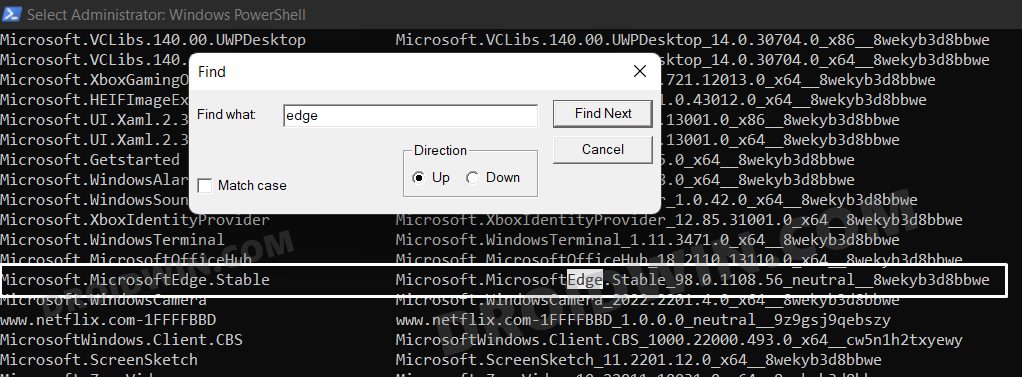
Via Windows Terminal
STEP 3: Install the Old Version of Edge
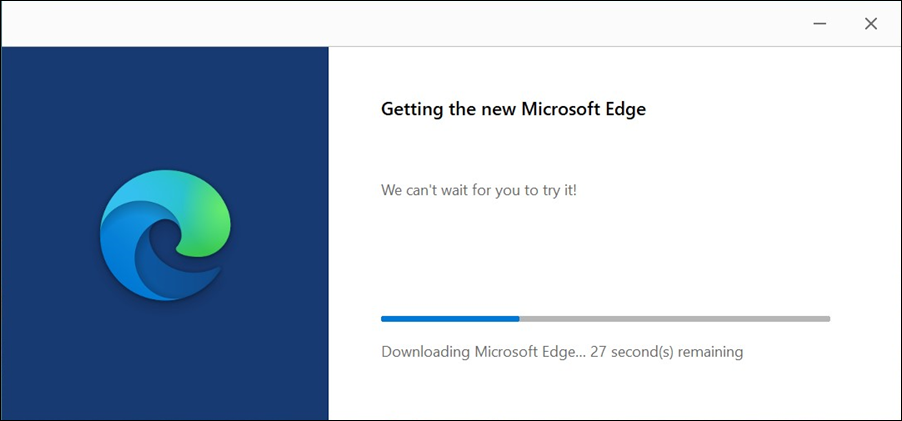
Now just launch the Edge setup that you had downloaded in STEP 1 and proceed with the on-screen instructions to install it. That’s it, the task stands complete.
So with this, we round off the guide on how you could downgrade Microsoft Edge on your Windows 11 PC. If you have any queries concerning the aforementioned steps, do let us know in the comments. We will get back to you with a solution at the earliest.
Microsoft Edge Not Working in Windows 11: How to Fix [10+ Methods]How to Bring Back the Old Download Menu in Microsoft EdgeInternet Explorer Mode in Microsoft Edge: How to Enable or Disable itMicrosoft Edge Slow or Laggy in Windows 11: How to Fix [13 Methods]
About Chief Editor