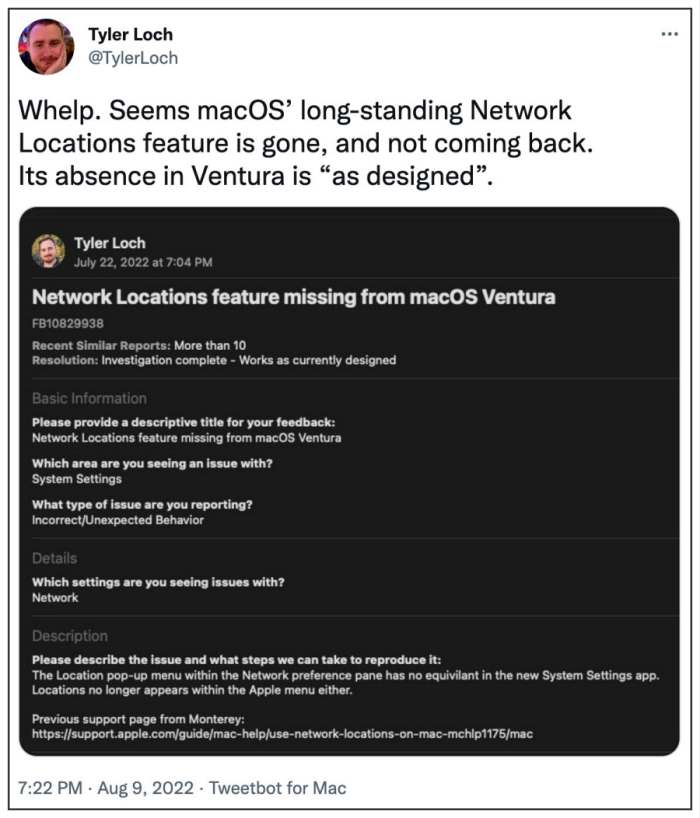
This allowed us to easily and quickly switch between different Wi-Fi, Ethernet, and other network settings, based on your current location. Let’s suppose your Mac has the network settings saved for both the WiFi and Ethernet, and you want it to connect to your WiFi first when you are at Home but to the Ethernet first when you’re in your office. In such scenarios, the Network Location feature would just work perfectly. Granted you could also do so by adjusting your network configuration settings so that it automatically uses a different DNS server at home vs work, but many users preferred to have it the conventional way. But now that the Network Location feature is missing or rather removed from macOS Ventura, what else could be done? Well, you could easily bring back this feature in the latest OS build. And in this guide, we will show you how to do just that. Follow along.
Bring Back the missing Network Location in macOS Ventura
In order to carry out this task, you could use the below-listed commands. The first two commands will help you get the desired network information. The third command could be used to create a new location [make sure to populate it with the required information and change the
Stage Manager Missing in macOS Ventura: How to FixSSH not working in macOS Ventura: How to FixFix macOS Ventura: Second Monitor/External Display not workingmacOS Ventura Long Boot-Up Time: How to Fix
About Chief Editor